Tutorial: build a platformer
In this tutorial you'll make a complete platformer with gravity, jumping, wall collisions, collectible coins and a goal flag, without dragging a single block. You'll draw (or import) the art in Scratch and write all the logic in the TextToScratch editor.
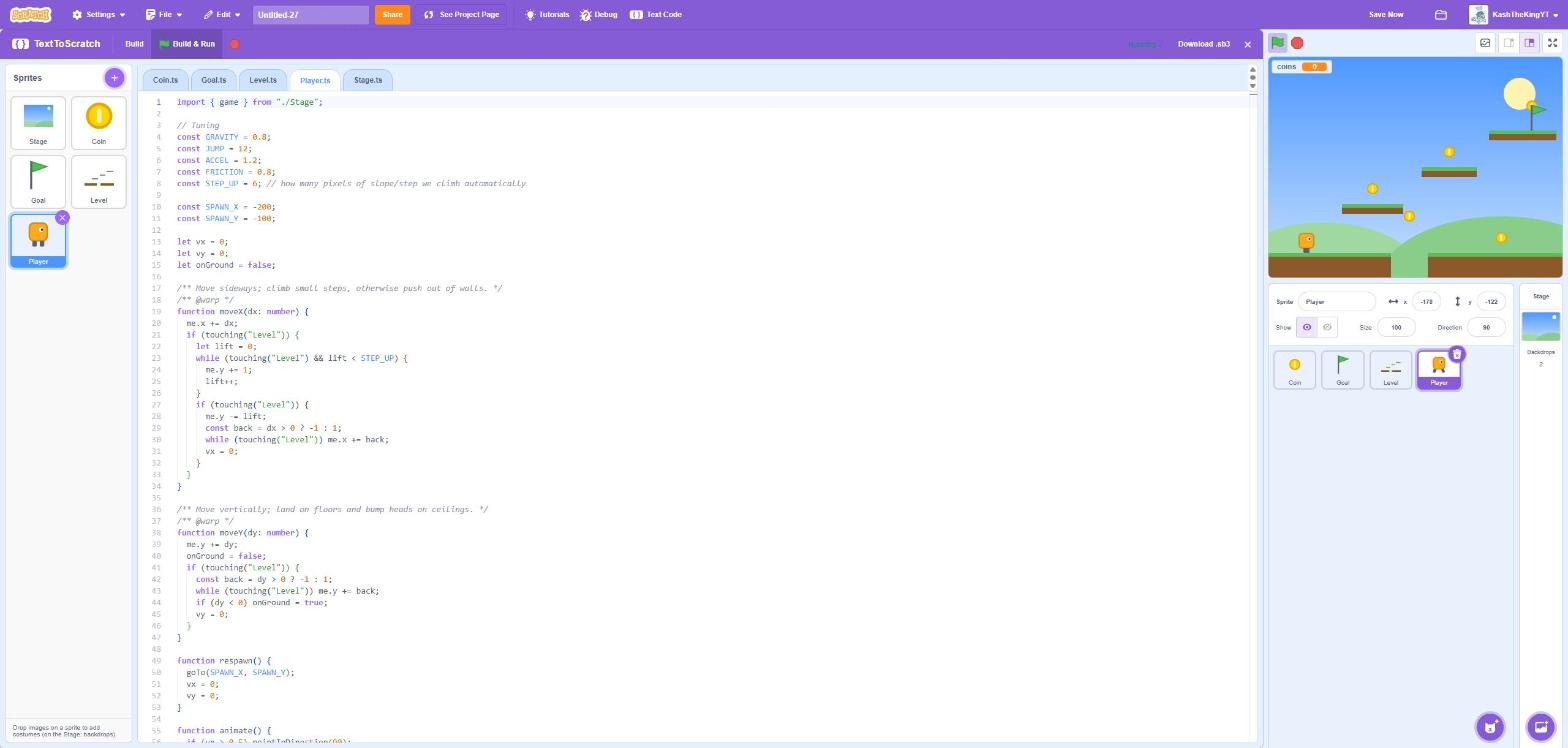
Download the finished project, platformer.sb3, and open it in Scratch with File → Load from your computer. Click Text Code to see all of its code.
1. Make the sprites in Scratch
Create these sprites in the Scratch editor. Draw them however you like; only the names matter, because the code uses them.
| Sprite | Costumes | What it is |
|---|---|---|
Player | idle, walk1, walk2, jump, physics | the character; physics is a plain solid rectangle used for collisions |
Level | level1 | every platform and floor, drawn on one costume |
Coin | coin | a collectible |
Goal | flag | touch it to win |
| Stage | sky, win | backdrops |
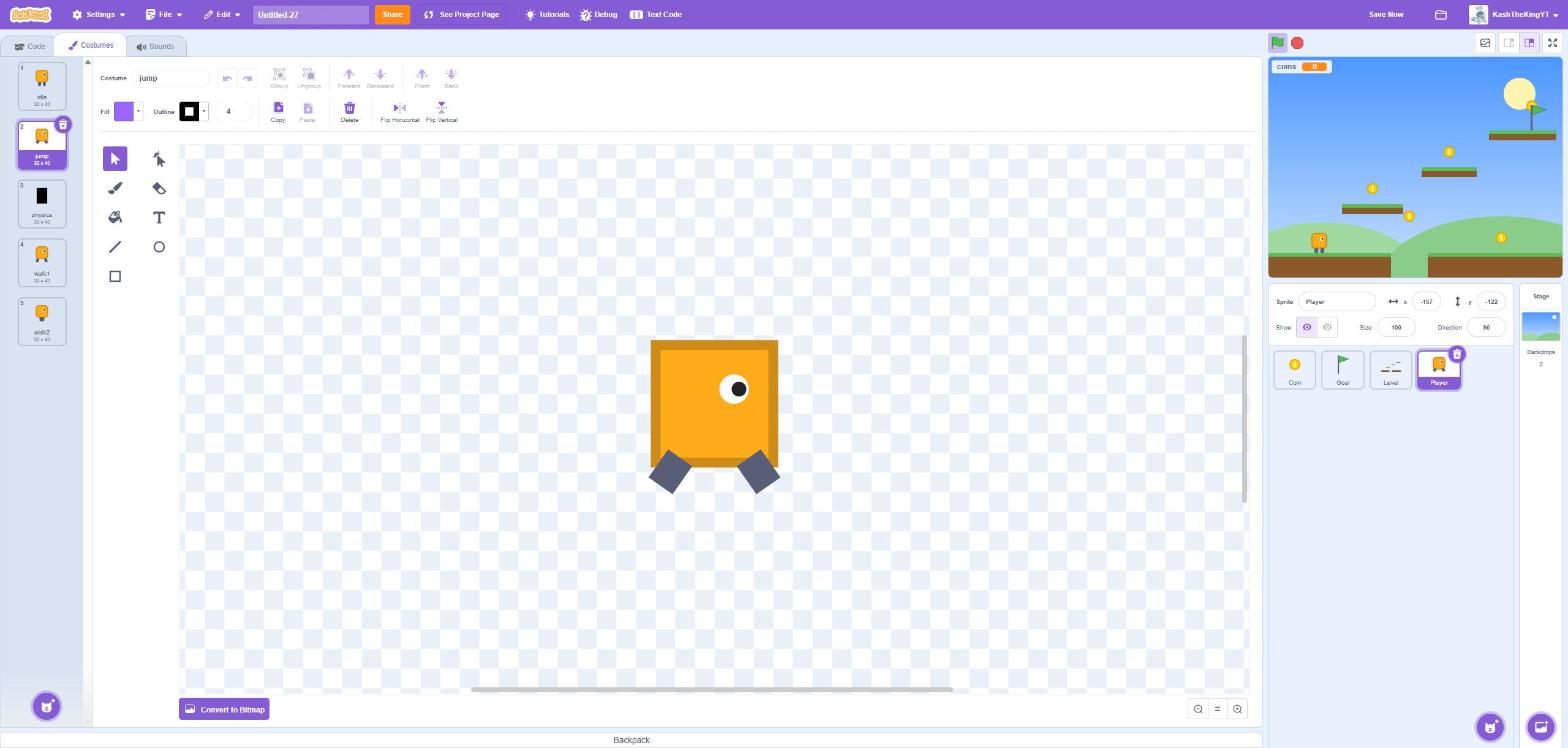
With the CLI, you can drop image files into src/Player/, src/Level/ and so on. Each image becomes a costume
named after its file. In the editor, you can drag images onto a sprite tile.
2. Open the text editor
Click Text Code in the menu bar. The code editor covers the blocks area; your stage and sprite list stay where they were.
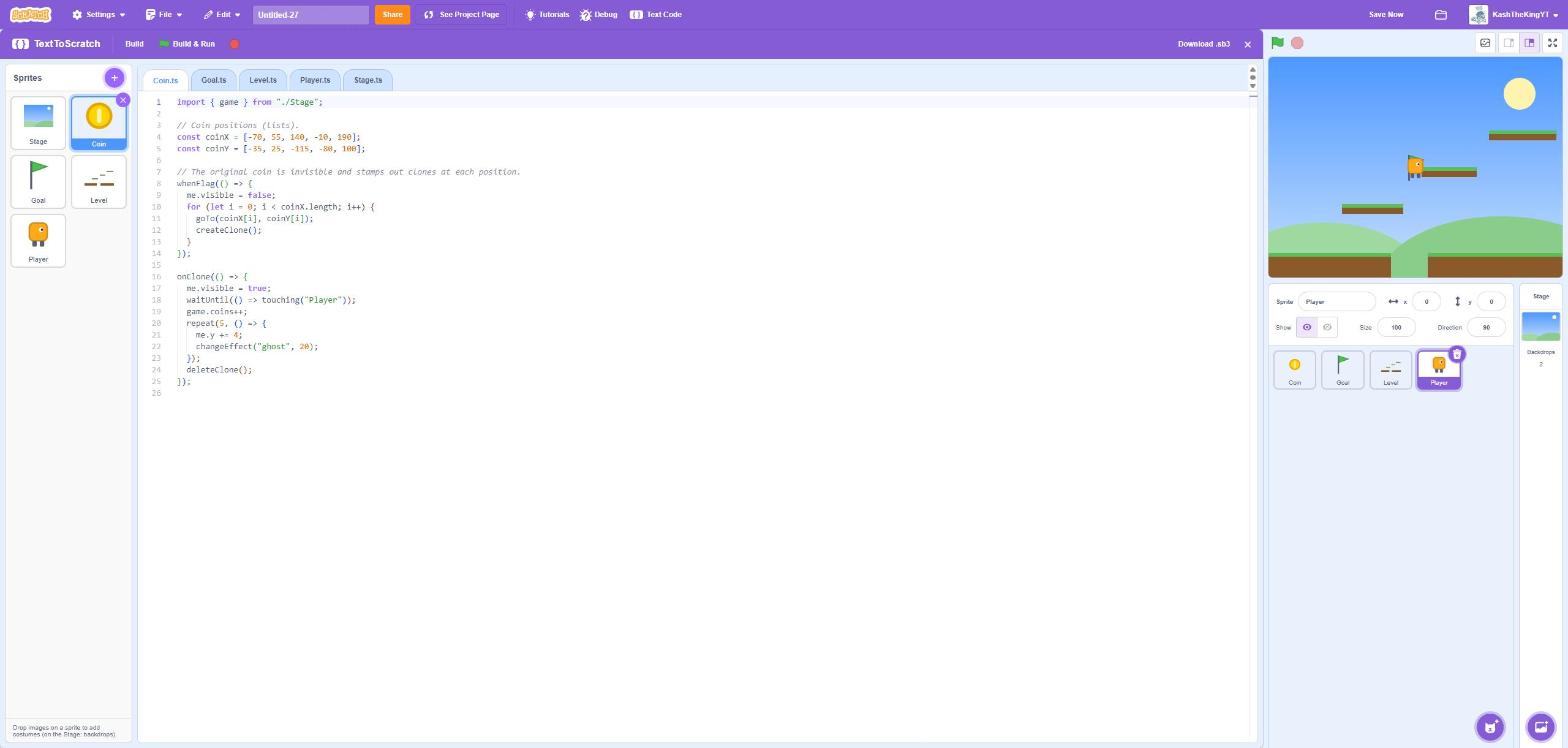
- The Sprites pane on the left lists every sprite. Faded tiles have no code yet, and their hand-made blocks are left alone.
- Click a tile to create or open that sprite's file. Each sprite gets one file, and
Stage.tsis the stage. - Build compiles; Build & Run (Ctrl+S) compiles, loads the project and clicks the green flag.
3. Shared game state — Stage.ts
Click the Stage tile and write:
// Global state shared by every sprite.
export const game = { coins: 0, won: false };

whenFlag(() => {
  switchBackdrop("sky");
  game.coins = 0;
  game.won = false;
  showVariable(game.coins);
});

onMessage("win", () => {
  game.won = true;
  switchBackdrop("win");
});
export const game = { ... } creates the global Scratch variables coins and won. Other files import { game } from "./Stage"
and can read or change them, for example game.coins++.
Like Scratch, variables are not reset when you press the green flag. That's why whenFlag sets game.coins = 0.
4. The level — Level.ts
The level is just a sprite whose costume is all the ground. The player collides with anything drawn on it.
whenFlag(() => {
  goTo(0, 0);
  goToBack();
});
5. The player — Player.ts
This is the heart of the game. Start with the tuning values and the player's state:
import { game } from "./Stage";

// Tuning
const GRAVITY = 0.8;
const JUMP = 12;
const ACCEL = 1.2;
const FRICTION = 0.8;
const STEP_UP = 6; // how many pixels of slope/step we climb automatically

const SPAWN_X = -200;
const SPAWN_Y = -100;

let vx = 0;
let vy = 0;
let onGround = false;
const values with a literal are inlined (no variable is created). let variables at the top of a sprite file
become "for this sprite only" variables.
Collisions
Each axis moves separately. If a move puts us inside the level, we step back out pixel by pixel:
/** @warp */
function moveX(dx: number) {
  me.x += dx;
  if (touching("Level")) {
    let lift = 0;
    while (touching("Level") && lift < STEP_UP) {
      me.y += 1;
      lift++;
    }
    if (touching("Level")) {
      me.y -= lift;
      const back = dx > 0 ? -1 : 1;
      while (touching("Level")) me.x += back;
      vx = 0;
    }
  }
}

/** @warp */
function moveY(dy: number) {
  me.y += dy;
  onGround = false;
  if (touching("Level")) {
    const back = dy > 0 ? -1 : 1;
    while (touching("Level")) me.y += back;
    if (dy < 0) onGround = true;
    vy = 0;
  }
}
Functions become custom blocks. /** @warp */ ticks Run without screen refresh, so the collision loops finish
in a single frame.
Animation
function animate() {
  if (vx > 0.5) pointInDirection(90);
  if (vx < -0.5) pointInDirection(-90);
  if (!onGround) {
    switchCostume("jump");
  } else if (Math.abs(vx) > 1) {
    switchCostume(Math.floor(timer() * 8) % 2 === 0 ? "walk1" : "walk2");
  } else {
    switchCostume("idle");
  }
}

function respawn() {
  goTo(SPAWN_X, SPAWN_Y);
  vx = 0;
  vy = 0;
}
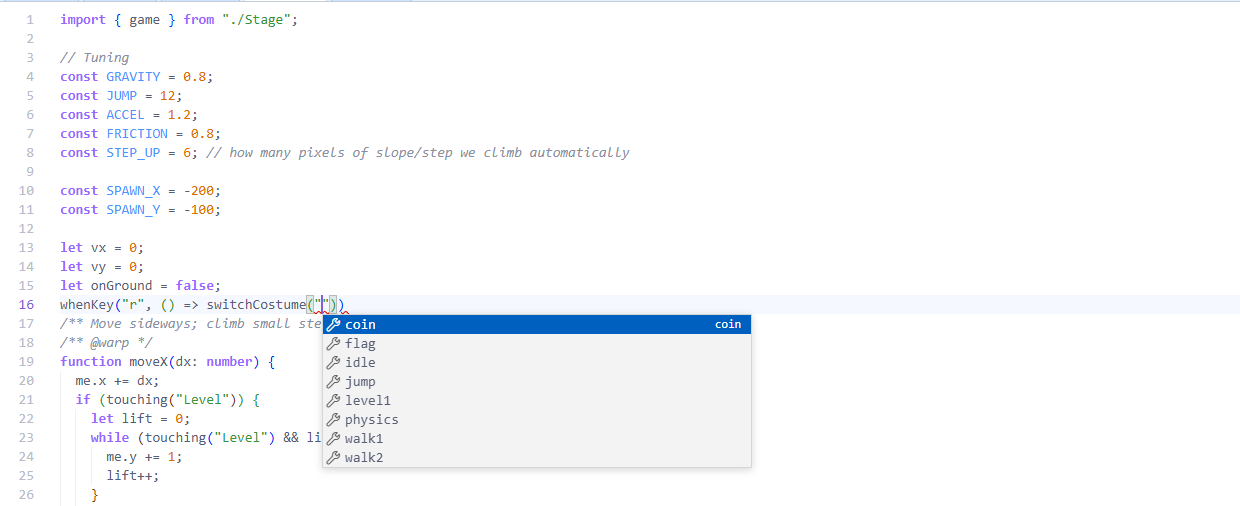
The editor knows your costume names, so it autocompletes them:
The game loop
whenFlag(() => {
  me.rotationStyle = "left-right";
  goToFront();
  respawn();
  while (!game.won) {
    if (keyPressed("right arrow") || keyPressed("d")) vx += ACCEL;
    if (keyPressed("left arrow") || keyPressed("a")) vx -= ACCEL;
    vx *= FRICTION;
    vy -= GRAVITY;
    if (onGround && (keyPressed("up arrow") || keyPressed("w") || keyPressed("space"))) vy = JUMP;

    // Collide using a fixed box so animation frames can't push us into walls.
    // (Costume changes aren't drawn until the loop finishes, so it never shows.)
    switchCostume("physics");
    moveX(vx);
    moveY(vy);
    animate();

    if (me.y < -170) respawn();
  }
  sayFor(`I got ${game.coins} coins!`, 3);
});
physics costume?Walking and jumping costumes have different shapes. If the legs poke out further in one frame, switching costume can push the player into the floor. Doing all the collision checks with one plain rectangle avoids that. The switch happens within a single frame, so the rectangle is never drawn.
6. Coins with clones — Coin.ts
import { game } from "./Stage";

// Coin positions (lists).
const coinX = [-70, 55, 140, -10, 190];
const coinY = [-35, 25, -115, -80, 100];

// The original coin is invisible and stamps out clones at each position.
whenFlag(() => {
  me.visible = false;
  for (let i = 0; i < coinX.length; i++) {
    goTo(coinX[i], coinY[i]);
    createClone();
  }
});

onClone(() => {
  me.visible = true;
  waitUntil(() => touching("Player"));
  game.coins++;
  repeat(5, () => {
    me.y += 4;
    changeEffect("ghost", 20);
  });
  deleteClone();
});
Arrays become Scratch lists. Indexes start at 0 in your code; the compiler adds 1 for Scratch.
7. The goal — Goal.ts
whenFlag(() => {
  goTo(200, 82);
  waitUntil(() => touching("Player"));
  broadcast("win");
});
8. Build & Run
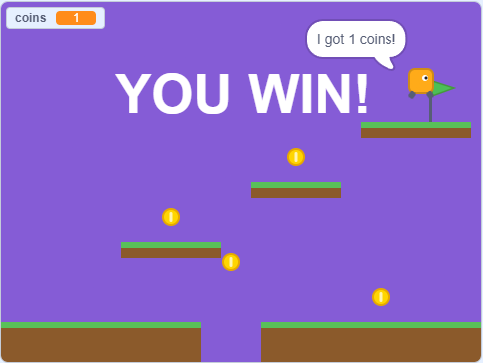
Press Build & Run (or Ctrl+S). Use the arrow keys or WASD to run and jump. Grab the coins and reach the flag.
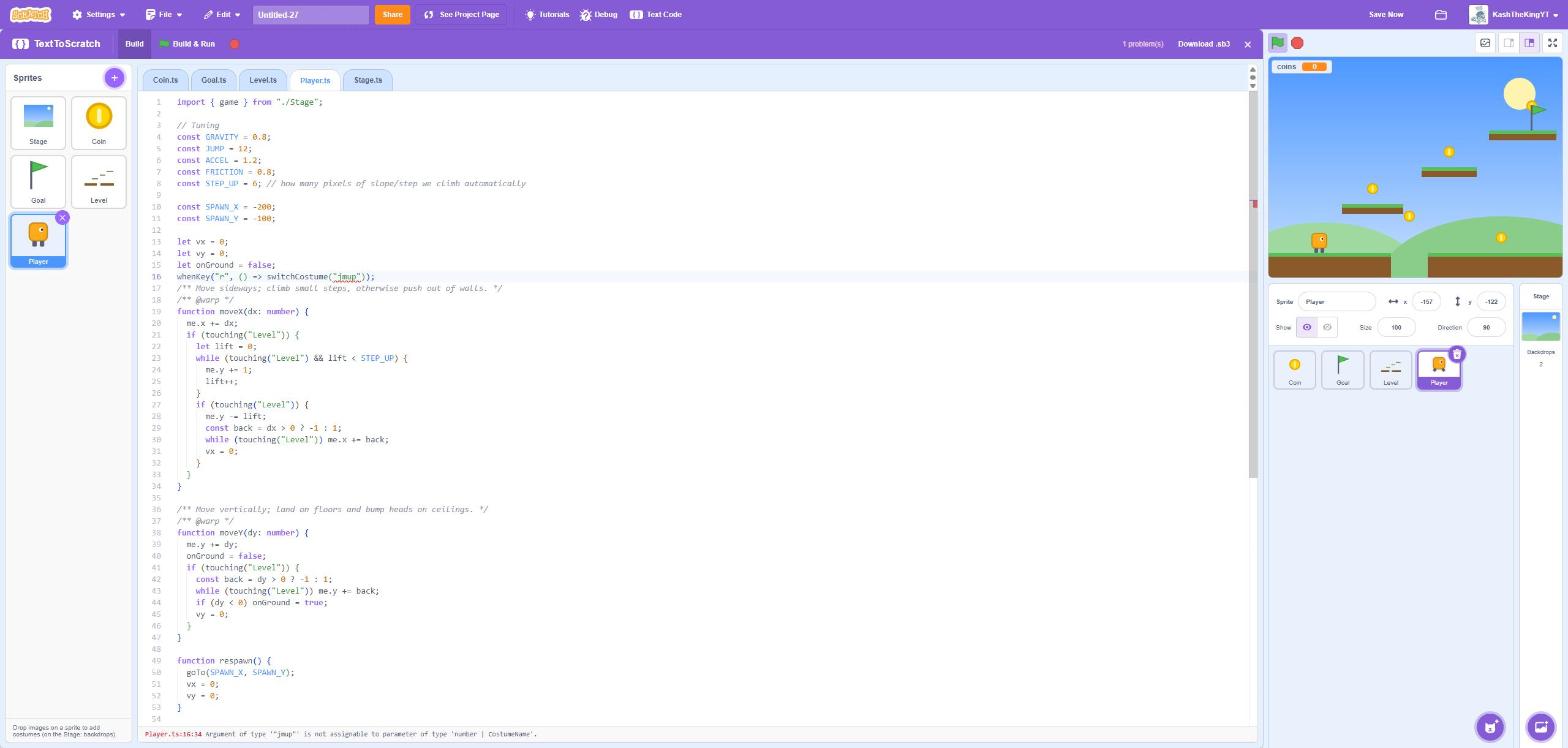
Mistakes are caught before you run
Misspell a costume and the editor underlines it straight away. Press Build and the problem is listed with its file and line. Click it to jump there.
What your code became
Close the editor (✕) to see the blocks TextToScratch generated. They're ordinary Scratch blocks, so you can read them, learn from them, or keep editing by hand.
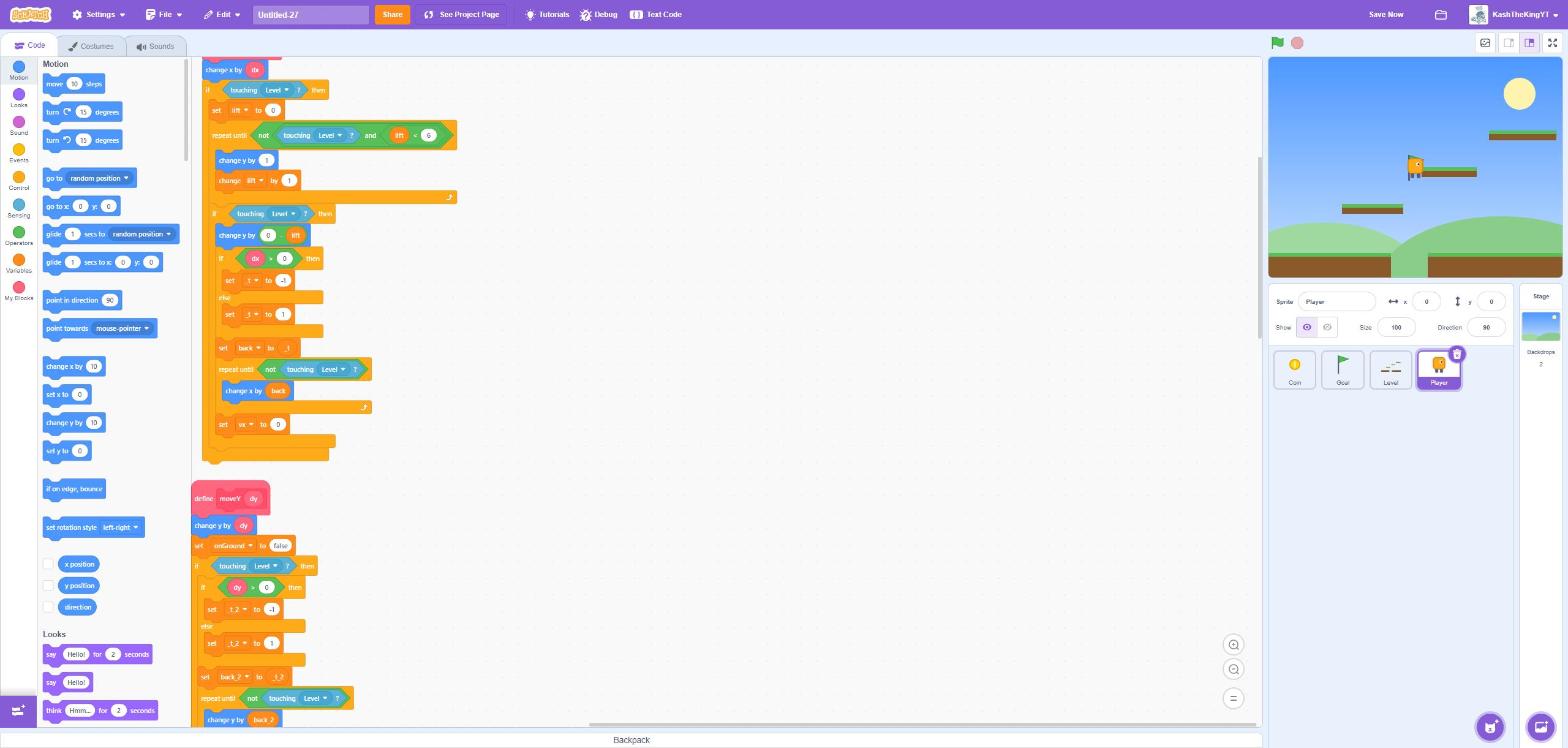
When a sprite has a code file, Build replaces that sprite's blocks with the compiled ones. Sprites without a code file keep their hand-made blocks, so you can mix both styles in one project.
Next steps
- Read the language guide to see how TypeScript maps onto Scratch.
- Browse the API reference for every available block.
- Check how it differs from JavaScript before you write bigger projects.